Tolerance analysis and feature-level scan adjustments
-
— 01
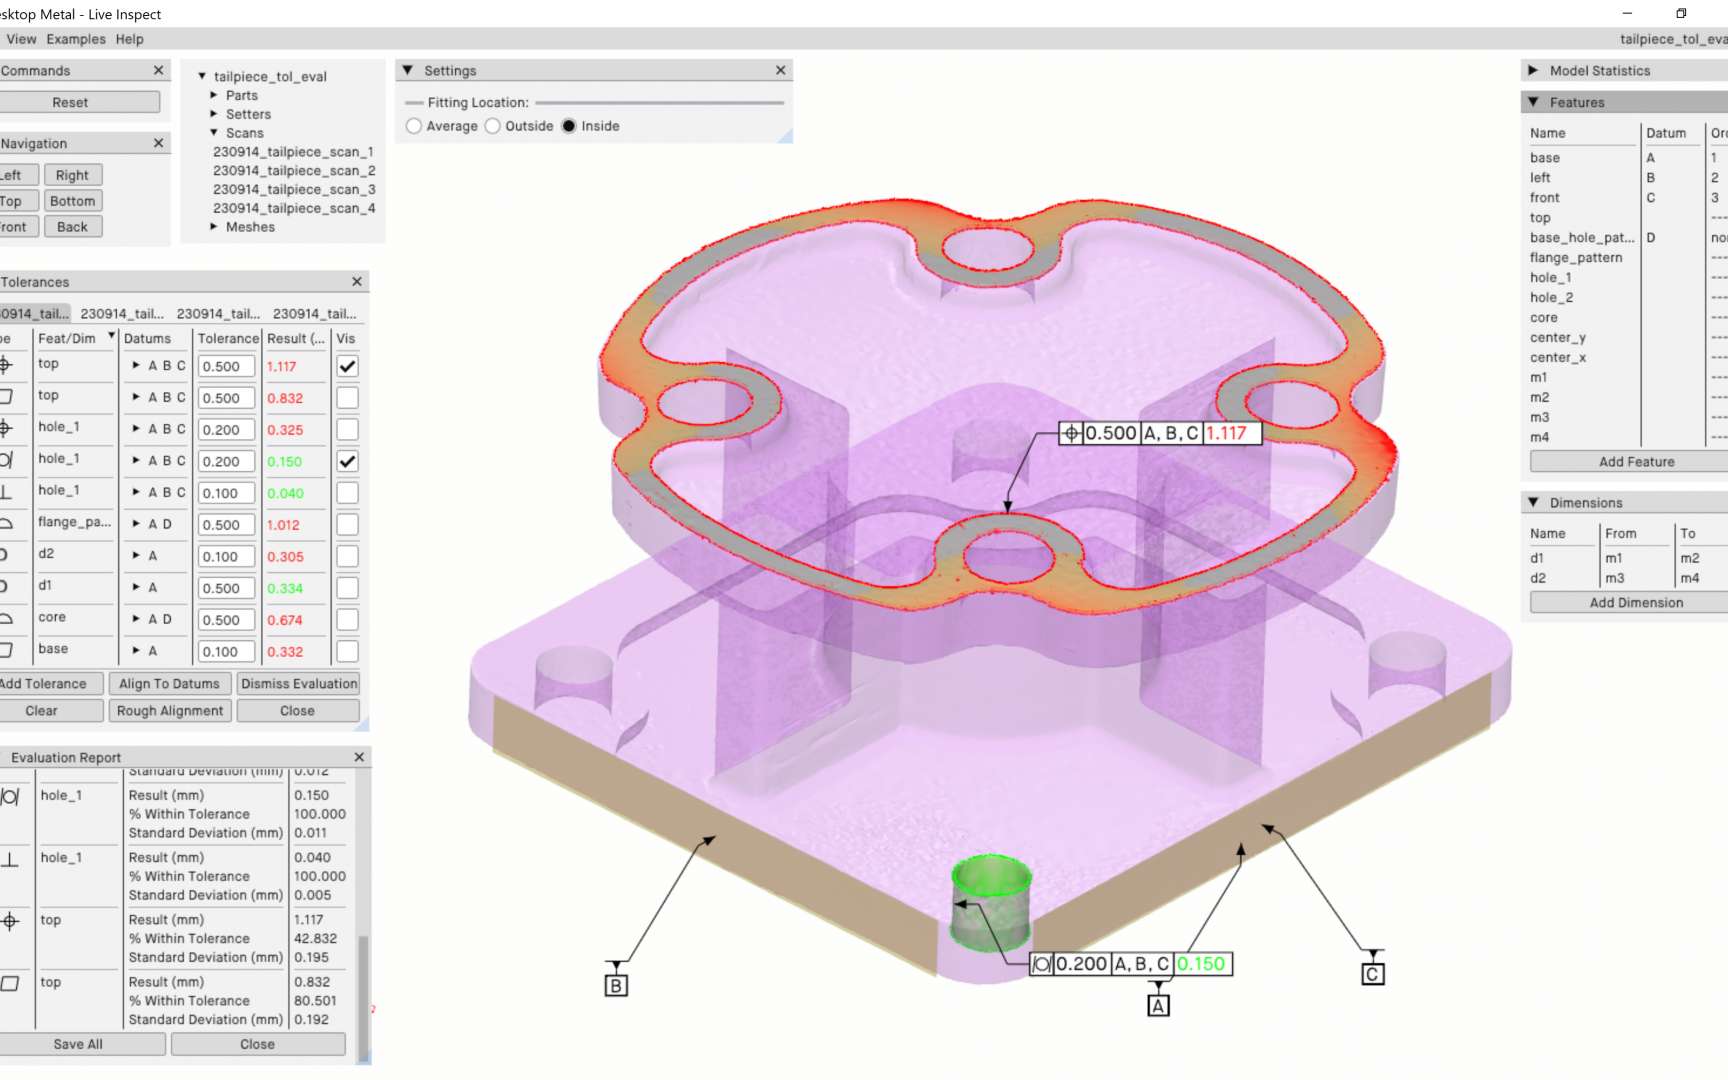
GD&T style tolerance analysis of individual features
-
— 02
Feature-level scan adjustments
-
— 03
Compatible with automated quality control pipelines
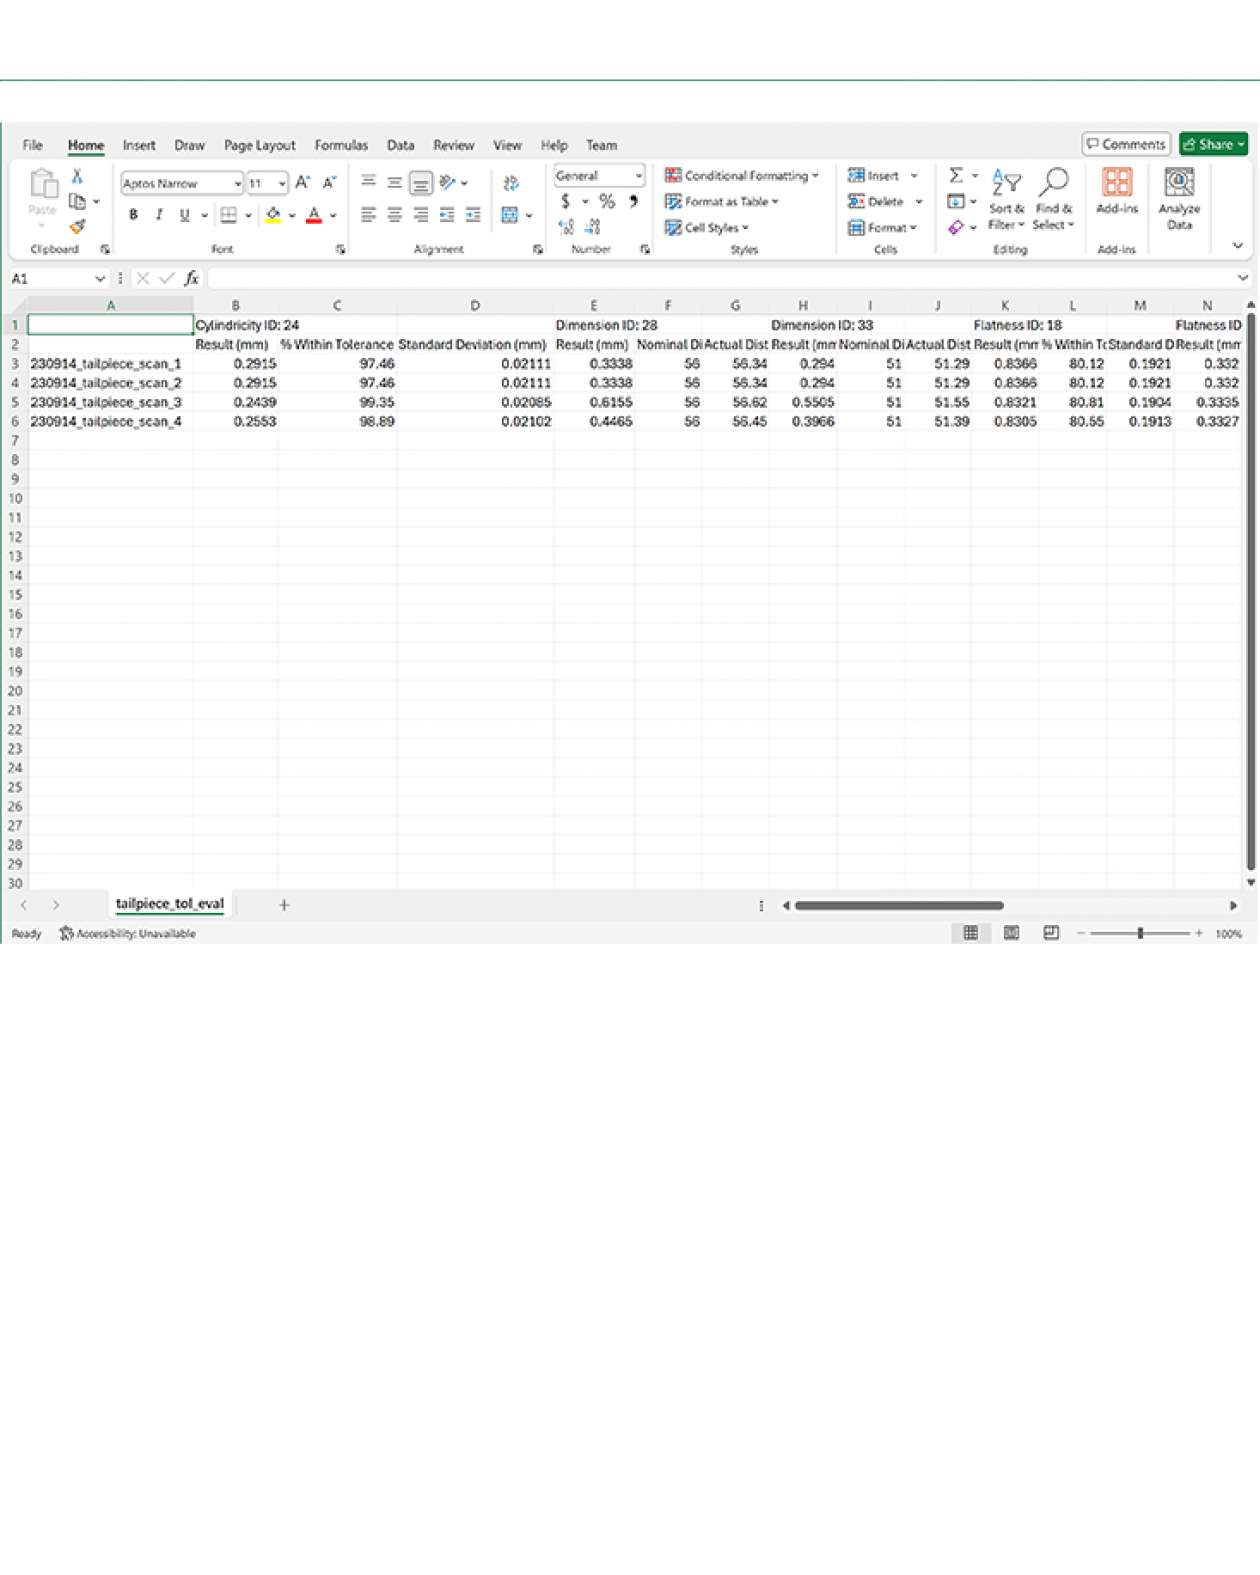
Part of Desktop Metal’s Live Suite package of software programs that seamlessly manage 3D printers, accessories, and processes, Live Inspect was developed as a tool to analyze features on a scan, provide geometric dimensioning and tolerancing (GD&T) style tolerance analysis, and then automatically scan-adjust the green part at the feature level. Improve part accuracy, reduce scrap, and produce 3D printed parts with confidence with Live Inspect.
Additive manufacturing allows designers to print virtually any shape without having to incur the costs of traditional tooling and setup. However, as many AM users adopt digital scanners to identify deviations in 3D printed parts, the basic heat map output alone fails to provide tolerance analysis according to standard GD&T norms and practices.
Live Inspect can correct for any type of AM defect across TeamDM systems and other 3D printing platforms. It’s not just a solution for powder metal shrinkage and distortion due to density variations, gravity, and friction during sintering, but can also aid in the manufacturing of polymer parts that experience warping due to curing and thermal effects or sandcasting cores swelling due to microwave curing. By addressing the critical need for precise tolerance analysis and automatic geometric corrections, Live Inspect sets a new standard for quality control.
Advanced Tolerance Analysis
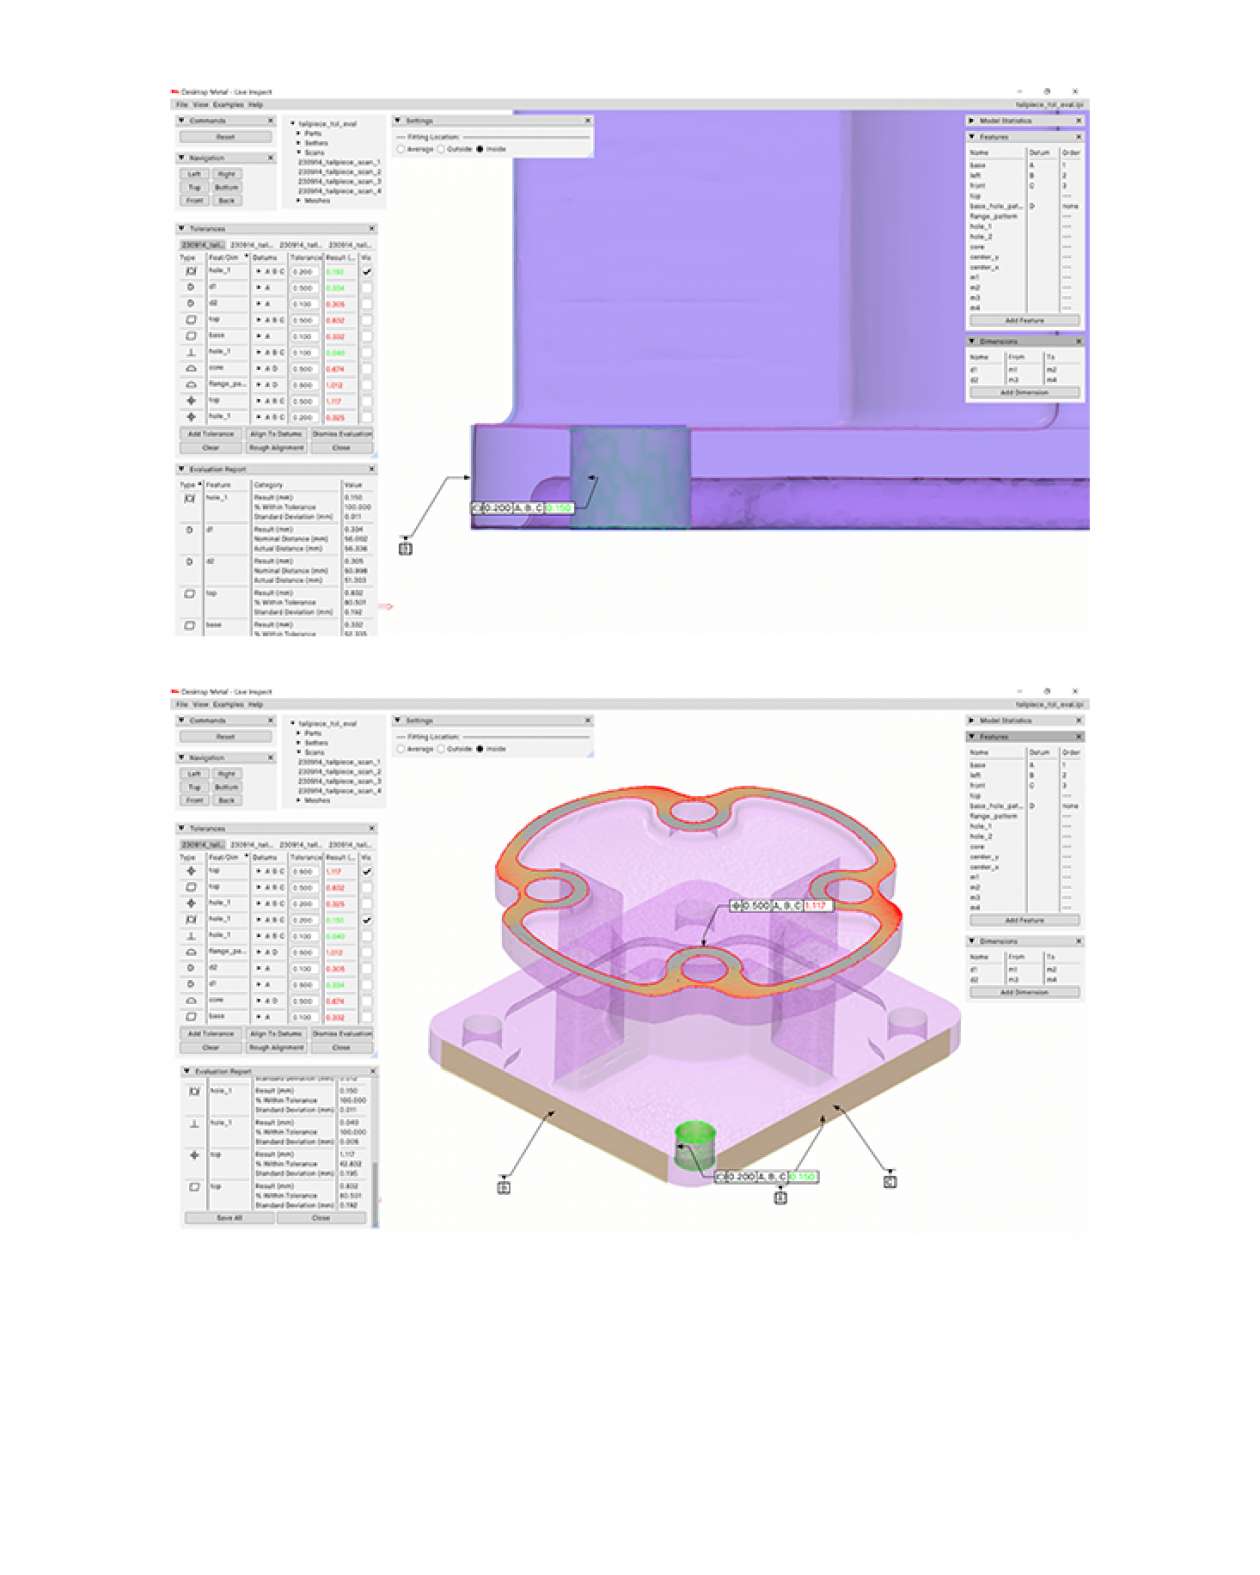
Traditional digital scanners typically provide a basic heat map output. While useful for identifying areas where a part may not be within tolerance, these maps lack further information for a precise quality assessment or corrective actions. Live Inspect helps additive manufacturing users overcome these limitations by offering detailed GD&T-style tolerance analysis for individual features such as holes, slots, and planes. This ensures that each feature on a part meets the necessary tolerances for functional performance.

Automatic Scan Adjustments
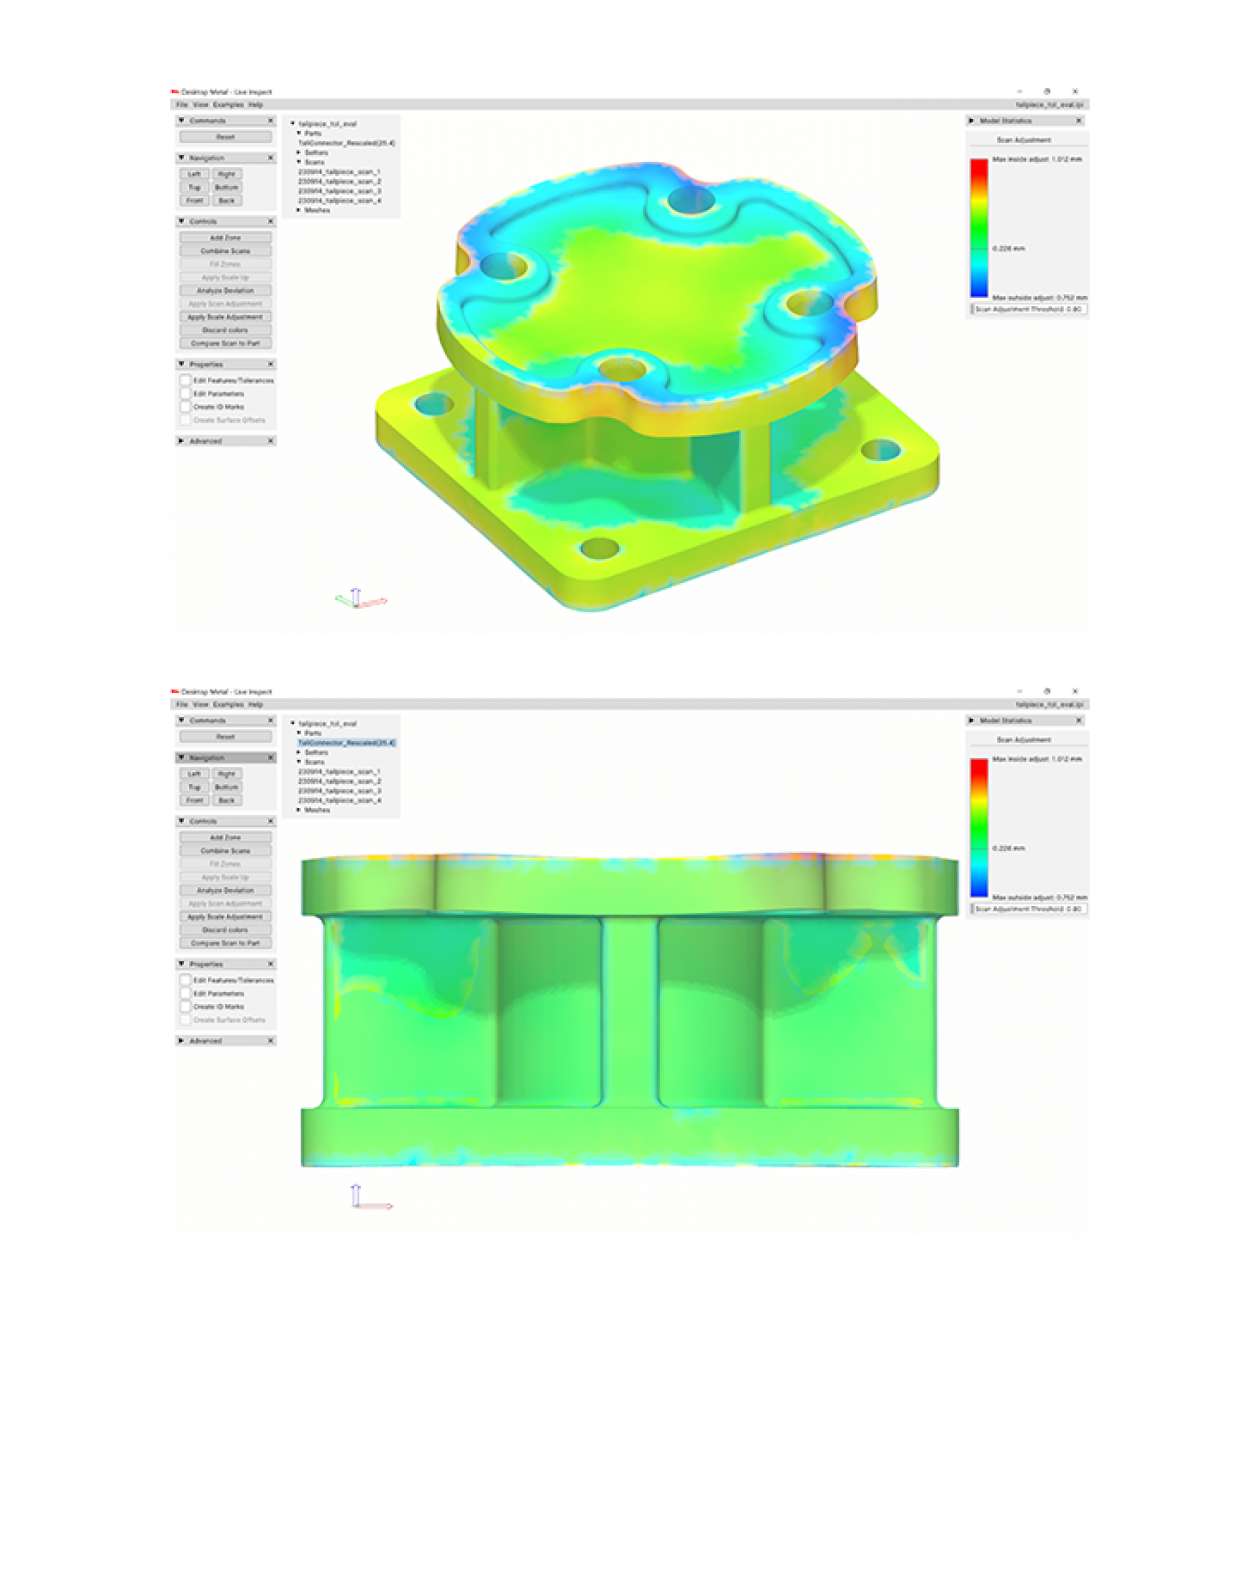
There are few tools available for analyzing and fixing part geometries. Live Inspect's innovative ability to make automatic, feature-level scan adjustments means that the software not only identifies deviations in your first 3D print, but also modifies the green part shapes accordingly. The adjustments are made at the feature level, ensuring that corrections are precise and targeted, leading to significantly improved part accuracy and reduced scrap.


Production Quality Control
This innovative software empowers manufacturers to produce 3D printed parts with higher accuracy, consistency, and reliability, driving the additive industry forward. Incorporating Live Inspect into your production line enables a PID-like closed-loop process for quality control. Every Nth part produced can be scanned, analyzed, and adjusted automatically, creating a continuous feedback loop that optimizes print results over time. This automated quality control pipeline minimizes human intervention, reduces errors, and enhances overall efficiency.
